I only claim to partially know what I am doing. I have written other blogs about formatting a book for KDP Print. Here is my best advice, repeated.
1. Make sure you watch Joe Garland’s videos about formatting.
The following information has been updated.
2. Use KDP Word Templates(I use LibreOffice, and I donate.) The templates have the Styles mostly set up for formatting for a print book. Because of the way Word creates a Table of Contents, I use the Chapter Title Style for Heading 1. Heading 1 is what builds the Table of Contents. The templates are found Here.
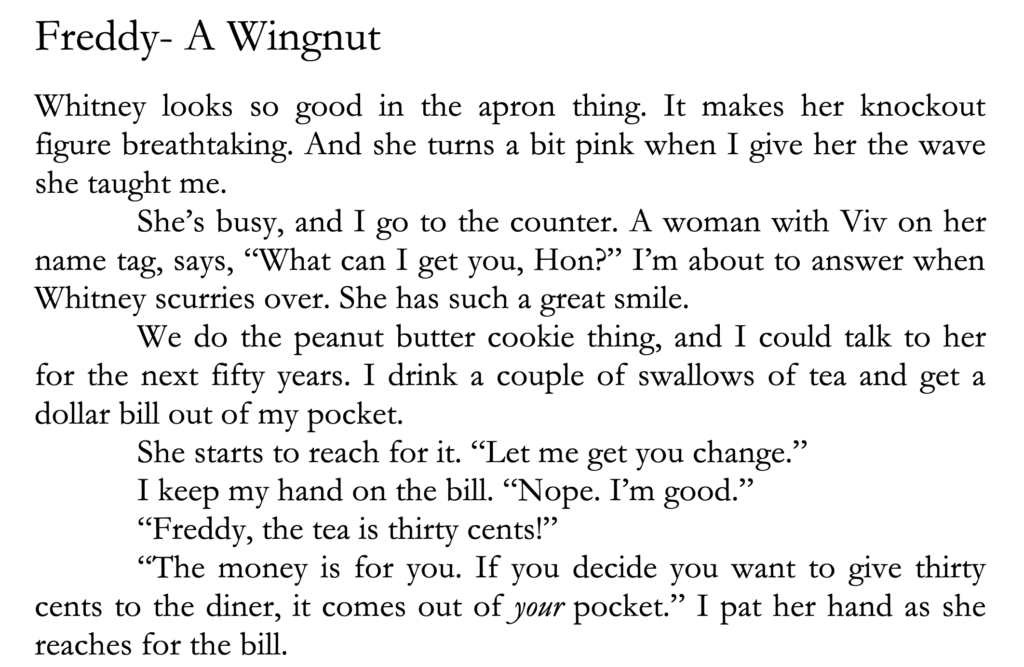
From word one, I write in the 6 X 9 KDP template. My current book, which is in heavy revision, could be uploaded and published in five minutes. I set the CSP-Chapter Body Text First Paragraph to Garamond 12. In my opinion, Garamond looks way better than New Times Roman. Choose a standard font. Books in Comic Sans MS will look goofy. This is what page 166 looks like.

If you don’t like the appearance of my chapter title, changing the style for the Chapter Title (Heading 1) will change the appearance of every chapter title. Change to a bigger, smaller, centered, or fancy font, and all will be changed instantly.
3. Save the final manuscript as a .pdf file (print-ready). This will help in two ways. First, you can look at the PDF page by page. If anything looks wonky in the PDF, it will be wonky in the book. Second, what is on the PDF is exactly what will be in the printed book. This means no guessing. I upload my books many times as I get close to publishing. There is nothing worse than approaching the publishing date you have promised and having the book not formatted correctly.
4. I use Kindle Create for Kindle e-books. It’s free and it works. It’s kludgy, but once you learn the little “features” that will make you crazy, it produces a proper Kindle book.
689 total views, 1 views today